Beginner's Guide to Delicious Homemade Canning
Posted on August 8, 2016
Getting Started
If this is your first time canning, you need to know some beginner knowledge and tips. There are two methods to canning: the boiling-water method, and the pressure-canning method.
When you use the boiling-water method, you fill a canning jar with the appropriate ingredients, close the jar with a lid and proper sealing band, and then boil the jar until it creates an airtight seal that keeps bacteria at bay. It's most effectively used with acidic foods such as jellies, jams, salsa, tomatoes, and vegetables that are being canned in vinegar, lemon juice, or citric acid. It's also cheaper than pressure-canning since equipment is minimal and reusable every year.
Pressure canning, most effectively used on vegetables and meats, involves raising the temperature of the jar and its contents higher than simply boiling. You need to buy a special pressure-canning appliance in order to properly prepare low-acidic food for this process.
It is also important to choose a canning recipe that is fairly recent and safe. Since we are discussing canning as a method to preserve food while keeping bacteria from growing in it, you have to keep in mind that safety measures have changed over the years. It may not be the best idea to use a recipe long kept in the family without being tweaked for updated safety purposes.
On the topic of safety, it is also best to follow the recipe you choose by the letter and the ounce. Even a slight tweak in vinegar or other ingredient amount could affect the pH level and lead to a bacterial build-up in your jar. Don't let this scare you away from canning—just be aware of your ingredients and follow the recipe!
What Will You Need?
Luckily for you, your local Norby's location sells all of the canning basics that you need to make most canning recipes! Swing by and pick up these items before your next canning!
- Canning jars with two-part lids—a flat lid with a rubberized gasket and the band to screw the lid into place.
- A stock pot that is at least 3 inches taller than your jar(s).
- Canning tongs for safely placing and removing the jars in and from boiling water—you should not substitute with regular kitchen tongs. A possible substitute for canning tongs is a magnetic lid lifter.
- Canning rack to keep the cans from resting on the very bottom of the stock pot—some substitutes could be a layer of of extra canning jar bands or a cake cooling rack
- A wide-mouth funnel to make filling the jars easier.
- A bubble tool to release trapped air in the jars—substitutes include a plastic knife, chop stick or skewer
- Canning labels—you'll want to label your jars with the type of food inside and the date of canning. Tape or adhesive mailing labels should do the trick.
Important Tips
Here are some important tips to keep in mind before you begin the canning process:
- Before filling any jars with prepared ingredients, check the jars and lids for any marks, scrapes, cracks, or scratches. All of the above could be detrimental to the formation of the seal that keeps the food fresh.
- As you are preparing your ingredients, make sure to keep the glass jars warm in a stock pot or saucepan. It is important to note that you do not want to keep the jars in boiling water, just warm water. Keeping the jars warm before filling them with hot ingredients prevents the possibility of the glass breaking when the hot food is added. Lids and bands should be kept at room temperature.
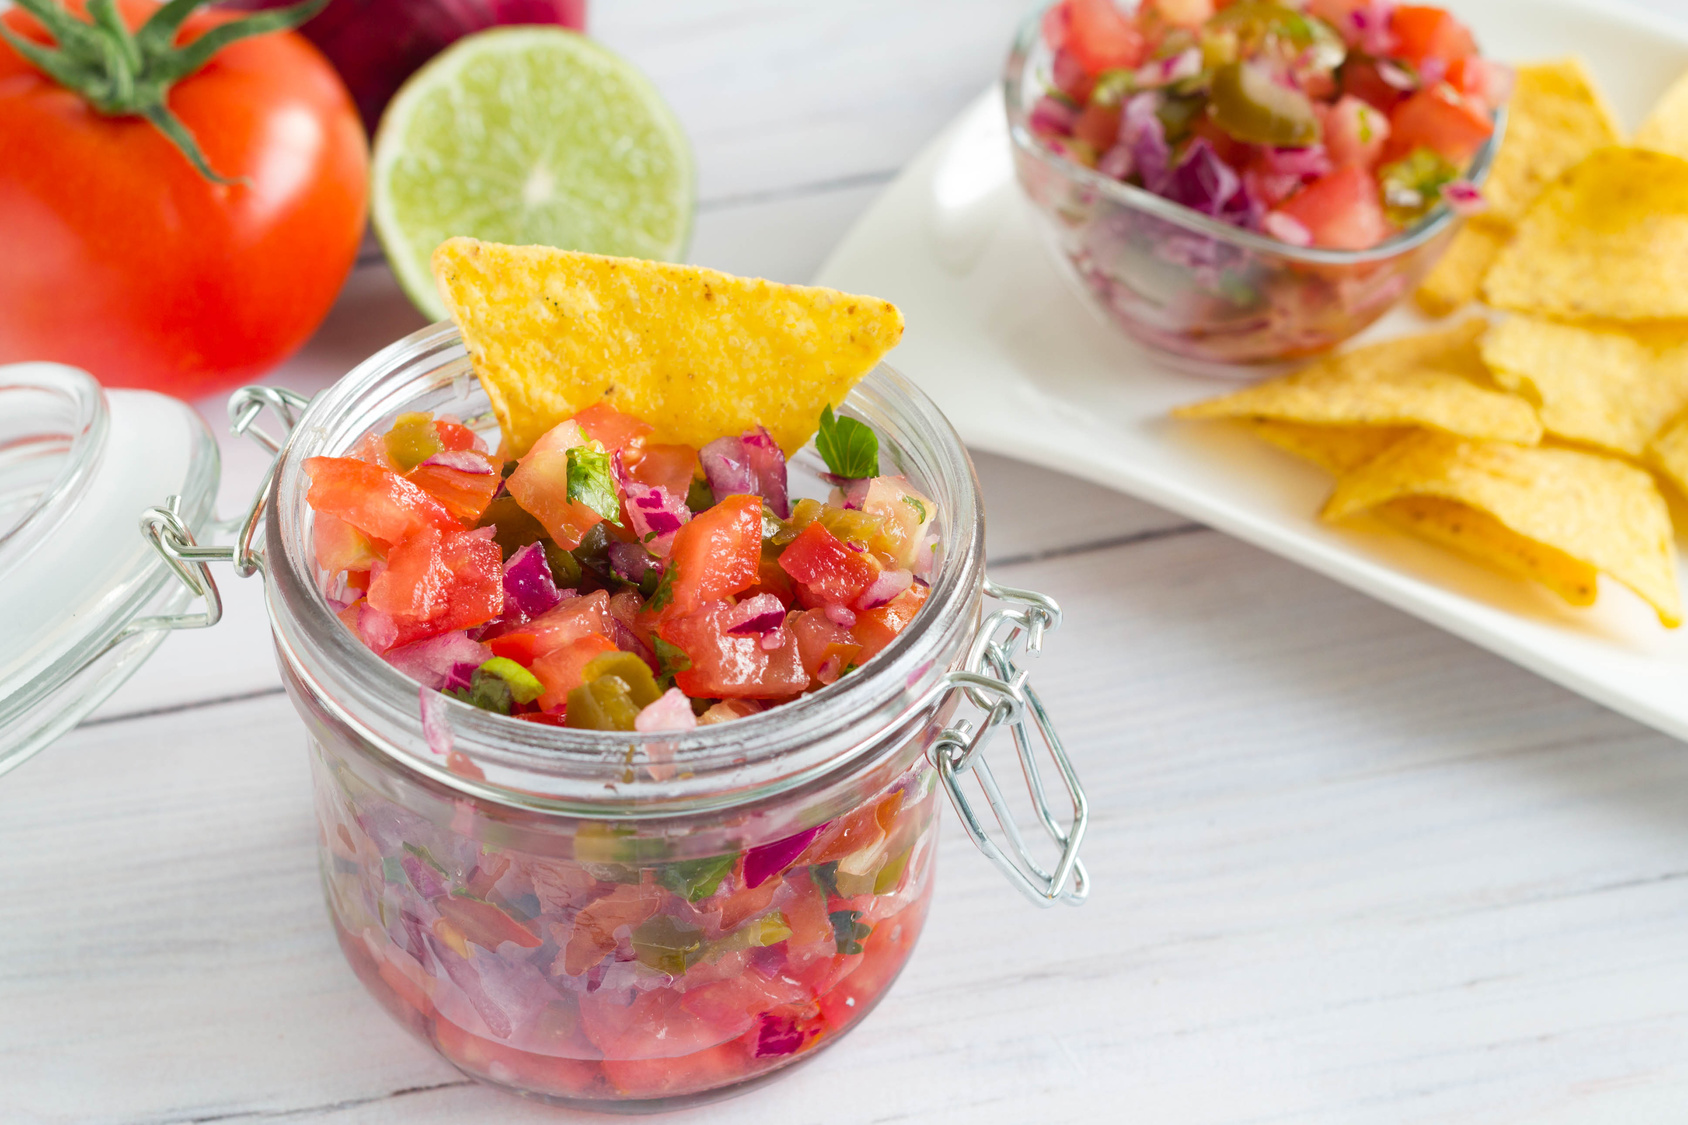
Chunky* Medium Salsa
Makes 3 quarts or 6 pints
- 8 cups tomatoes, peeled chopped, and drained
- 2 ½ cups onions, chopped
- 1 ½ cups green peppers
- 1 cup jalapeno pepper, chopped
- 6 garlic cloves, minced
- 2 teaspoons cilantro
- 2 teaspoons pepper
- 1/8 cup canning salt
- 1/3 cup sugar
- 1/3 cup vinegar
- 1 15 oz. can of tomato sauce
- 1 12 oz. can of tomato paste
Mix all ingredients together in a saucepan and bring to a slow boil for 10 minutes. Pour and seal the ingredients into jars, then place them on a rack in a stock pan and cook the jars for an additional 10 minutes.
Carefully remove the jars from the boiling water and set aside to cool for 12-24 hours. If a proper seal has been formed, the center of the lid will not push downward or pop. In addition, you may remove the band and gently test to see if the lid will lift easily from the jar. If it stays put, a proper seal has been formed and you may label the jars with the proper name and date.
Remember to refrigerate your canned food once you have opened the jar!
*To make the salsa less chunky, chop up the ingredients more finely.
Blog Archives
- January 2020
- December 2019
- November 2019
- October 2019
- September 2019
- August 2019
- July 2019
- June 2019
- May 2019
- April 2019
- March 2019
- January 2019
- December 2018
- September 2018
- July 2018
- May 2018
- April 2018
- January 2018
- December 2017
- November 2017
- October 2017
- August 2017
- June 2017
- March 2017
- February 2017
- January 2017
- December 2016
- November 2016
- September 2016
- August 2016
- July 2016
- January 2016
- November 2015
- October 2015
- January 2015
- October 2014
- September 2014
- August 2014